Tuesday, April 26, 2011

I Adore Hazelnut Coffee!

 *waves* Good to see y'all again!
A few of my readers know how much I love hazelnut decaf coffee, so what did I do but make some soap with it! lol I had originally planned to do a cucumber soap, but I had gotten this new hazelnut coffee blend and the other day while enjoying a cup I thought to myself "I bet this would be divine in some soap." So the wheels started churning. I only had a little bit of Palm Oil left so I went on ahead and formulated a new recipe. There are two parts to this batch..here's the first one. (this post is heavy with pictures so please give it time to load.)
Lye and Coffee mixture :))
After adding the lye to the oils.
In the small mold. It didn't take me long to do this batch because I mainly wanted to use scraps of it as decoration on the loaf that I made.
After it hardened it was alot lighter than I expected it to be. I had thought it would stay the same color.
So shortly after grating it I began making the loaf. Yayyy for more pictures! LoL!
I not only used coffee but goats milk as well to do a coffee with cream sort of thing.
Pour time!! Right at trace I added coffee grounds and added just a small amount of dark colorant. I then added a dark layer over this to separate it from the top. I didn't get a chance to take a picture of it..sowwies.
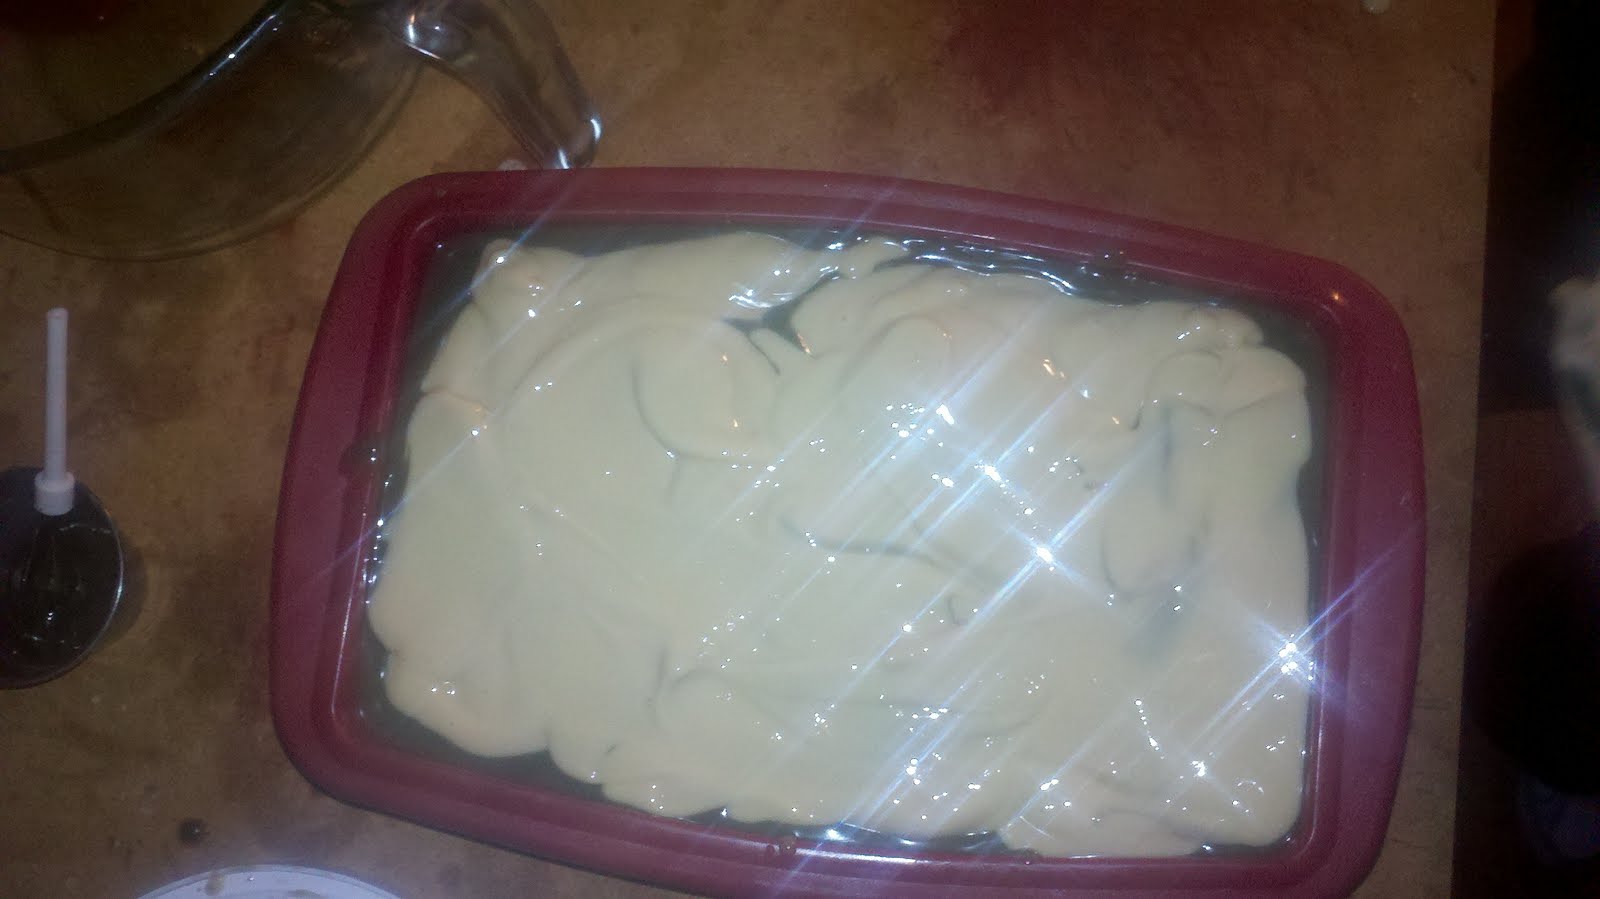
I had separated the soap batter into 3 parts and did what looked similar to a whipped topping.
Spreading it out
I took the shaved soap and topped it over the "whipped topping"
I then drizzled the dark soap batter over the shavings. I expected it to look like a dark chocolate but it didn't come out that way.
After unmolding it today.
First cut
Can you see the dark layer separating the bottom from the whipped topping layer?
Close up look
Top view. Yup I cut these thicker than I normally do. :)
While I was disappointed that the drizzle didn't really look chocolately I was pleased with the overall results. Fyi: For those who aren't aware, coffee soap is a good kitchen soap. Not only does it exfoliate, but removes hard to remove scents from your hands, such as garlic, or fish etc. It is very handy to have around. I am looking forward to trying this soap and sampling it out when cure time is done. The scent is wonderful by the way, and I used no fragrance oils with this. We'll see how it looks and smells in a few weeks. :)
Suds & Bubbles,
Soapy

Tuesday, April 19, 2011

No longer MIA!

*waves* Hey y'all! Wow! So sorry I have been unable to update the blog for a bit but haven't been well. I wound up catching that virus that has been going around and it turned into Bronchitis! I haven't had bronchitis in ages!! I am not at 100% yet , and still have a terrible cough but I am feeling so much better than I was. I have been unable to make any more soap for well over a week now unfortunately and have had the worst soapmaking withdrawals ever! I am hoping that within the next couple of days I will be making some soap because I have been brainstorming on the next batch. Which reminds me...the batch of soap that I made a month ago that I dubbed "Sisterly Love", well the cure time was up on it! So I tried it yesterday and wow! I absolutely adore that recipe! The bubbles and scent are amazing! I am looking forward to sampling it out to my guinea pigs. ;)

Now, onto the batches that I made before getting sick.

If you will remember, I had planned to do another batch of soap to rule out problems with the recipe as to why there was some crumbling. These pictures are that batch.
I made the batch quite big as you can see. ;)
I was going to do it without scent *and* color but decided to add color anyway.  This is the loaf after cutting it. The cuts were clean of course.
I love how this one swirled. All in all it was a very good batch so it was in fact the dullness of the knife and not the recipe. :)
Ok the next batch I had been brainstorming about for a bit, and while I don't care as much for the grey areas because I wasn't going for any color blends, my husband preferred it that way. I let him do the top swirl.
The base is a pink color, and you can see a bit of a tint. This was right after swirl.
This was after the soap was unmolded. I love the contrast in color!
After cutting the loaf
This batch is gorgeous, and the fragrance oil that I used came out nicely. Its a very clean scent, and a very soapy one if that makes sense.
Well there you have it. :) Gosh I really need to get out there and do another batch of soap! I sure have missed it. I am looking forward to my next soapmaking adventure. I have been brainstorming the past couple of days and decided on trying an odd combination and doing a whipped top on the bars, think marble, cucumbers, and cake. lol The batch after that I have plans to make castile (100% Olive Oil) just to see how it turns out. Being sick sure does give you that extra time to brainstorm. lol
Ok folks, its time for me to run. Hope everyone is doing good.
Suds & Bubbles,
Soapy

Friday, April 8, 2011

A few thoughts...

*waves* Hey y'all! Hope everyone has had a good week! Have been as busy as a beaver but did manage to make a couple of batches of soap, but decided to devote this post to something that has been discussed recently and is heavily on my mind. There are some that do not take into consideration how much work actually goes into soapmaking. They think that melting down what someone else has spent alot of work making, throwing it in a mold, means they can pass it off as their own creation. It doesn't work that way though. This doesn't apply to the m&p method where the soap base is made specifically to be used as m&p, just to make things clear here.
Besides the m&p method there a few different ways of making soap which in some cases vastly differ from eachother. While each method is equally valid some methods are more lengthy than others, and take a bit more work. You have the Melt and Pour(M&P), Cold Process (CP) , Hot Process, and Cold Process/Hot Process (CPHP). CP is my addiction. ;)  I had past experience with M&P, but I wanted the experience making it from scratch hence me trying this method. That isn't the only reason, but nonetheless was a significant one. I had watched tons of cp soapmaking on videos and viewed loads of pictures on the process. On top of this I did quite a bit of research on this process, but I knew I could never fully appreciate what all goes into it until I had hands on experience with it.

Making soap from scratch is a lengthy process , and it isn't like you just slap all of the ingredients together with a scent and call it soap, it isn't that easy. There are alot of things to take into consideration, personal safety is one of them. Lye is caustic but you cannot make soap without it. But that is another post altogether. Anyhow, back to safety.  The other day I was making my lye milk, got all of the lye dissolved and put the container aside to cool. I didn't realize at the time but there was a minuscule amount of lye milk that splashed on one of the fingers of my glove. I removed my googles , my nose itched and without thinking I went to scratch it with my finger. While it was a minuscule amount it felt like I had been stung by a couple of fire ants on my nose. I grabbed the vinegar because it neutralizes the lye and goodness gracious it stung like crud!! I was fine though because of the minuscule amount thankfully. The extent of the burn when it was all said and done was like a very light sunburn on that spot of my nose but can you imagine what it would have been like if it were my eye that I rubbed? I will be more careful next time.

     Another thing to consider is most people want a soap that is not only healthy for their body but makes their skin feel luscious as well. There is alot of time and effort to formulating a good balanced recipe to achieve the above. Most want a soap that is also pleasing to look at whether its vibrant swirls, textured tops, layered, embedded, bakery themed designs or the grunge/rustic look and so forth. All that goes into soapmaking takes alot of work, and a great deal of trial and error until you find your niche. To alot of soapmakers it isn't just a hobby, or even just a way of making money, it is a form of artistic expression in it's own right that deserves respect. So if you have someone who takes what you have spent so much time and effort creating, and claims it as their own, it is a huge slap in the face and isn't to be taken lightly. I get disappointed when things of this nature take place regardless of the medium it happens to. I always want to think the best of people but when things like this happen, it is very disheartening to say the least. I have some things to get done but want to leave you with the following thought. How would you feel if it happened to you?
Suds & Bubbles,
Soapy

Saturday, April 2, 2011

Cutting Soap with a Spoon!

*waves* Hey y'all! Hope everyone is staying warm and dry. The weather here has been a bit nuts the past week. I have had to cover my plants the beginning of the week due to the frost, and turn on the heat in the house. As much as I love the winter, I am anxious for actual spring.
Ok, so you remember on the last post I showed pictures of the Goats Milk Shea Butter Soap?
After unmolding, can't really see the orange.


Well the next day I unmolded it and started to cut it. Unfortunately I had a bit of a crumble when cutting it. So we realized that it may have been the knife going dull because while cutting it , it was like I was cutting the loaf with a spoon. My husband checked the blade and sure enough, dullsville. ;) We had only cut a few bars (that looked horrible), and decided to get a new knife for it and see. We did btw sharpen the previous knife but it's pretty much done for.
There was a marked difference when using the new knife:
The first knife used on the loaf.
After using the new knife.
The top of the soap.
Ok so while we think it may have been the knife, we of course know that we need a different cutting utensil that is specifically made for soap so that there isn't any damage to the soap. But we decided that we're going to do the same recipe again, because it was a recipe that I created, but without the colorant, and fragrance, and see if it was any of that or if it was the goats milk that was used that contributed to the crumbling. I thought perhaps it may have been the orange colorant because of how that particular color looked to balloon out in the loaf, or too much fragrance that contributed to the crumbling. The loaf of soap was slightly difficult to cut anyway.
We believe it was in fact the knife based on findings with the second knife, however I would much rather double check the recipe to be sure. What got me is even though there was only slight crumbling when the second knife was used, it still seemed to be a creamy bar. I do however like that the goats milk produced an off white soap and not tan this time. :) Will be keeping an eye on it during cure time.
Will let you know how the next test batch with the fresh goats milk does.
Have to run out and get some more lye, will post again soon!
Suds & Bubbles,
Soapy

Wednesday, March 30, 2011

Fresh goats milk anyone????

*waves* Hey y'all! Hard to believe it is 11:41pm and I am not yet turned into a pumpkin! I am a bit excited though, guess why!?!?!?! Yup I made a batch of soap! As y'all know, I went and visited some goats Friday and purchased some of their milk. I had made big plans to do a couple of batches over the weekend, but unfortunately I was unable to make any as planned. I was having some serious soap making withdrawals to say the least.
So anyhow, even though I was unable to make any soap, I had been brainstorming a little bit and talking to my husband about wishing some of the colors would go further down. So he suggested separating and layering..do the base, color, color, base, color , color etc. ..so that is what I did! Picture's below!
I started doing the layering..first the base which was just the plain goats milk soap batter, then I swirled blue, and then orange. Unfortunately your unable to see the orange but it's there. It's just light, and I am hoping that it shows up well.
The next layer
More Blue and Orange
Almost Full!
Goats milk base
I had blue left, so I went on ahead and carefully poured the rest in very slowly...As you can see it's almost overflowing. lol Somehow I managed to keep it all in there..placed one gallon jug of water on each side to hold the bulging mold in place and left it as is. I didn't insulate it because it was goats milk so no need to. I didn't bother to texture the top either with this as you can see. Hopefully it will stay as is. :)
So sometime tomorrow I will un mold and cut this loaf and will post pictures then. :) Before I log off for the night, wanted to show y'all my new special friend.
*whispers* She sees yoooooou!
It's pumpkin time, goodnight y'all!
Suds & Bubbles,
Soapy

Monday, March 28, 2011

Cure times!

   *waves* Hey y'all!! Hope everyone is doing great! It is cold, rainy and was snowy this morning here which is later than normal for us to have a spring snow. At any rate I haven't made any more soap since the last batch, altho I do have plans to remedy that tomorrow.
This past Friday I went and purchased fresh goats milk from the most wonderful goats I have ever met, so I will be using that tomorrow. I am looking forward to it! Hubby had a good idea last night about trying something new with coloring and swirling. So tomorrow we will be trying that to see how it goes. :)
            Onto other things...I was checking over the dates on some of my soaps, lo and behold some are done on cure time! Hard to believe! So I tested them to make sure cure time was up and I brought in a bar of each batch into the house for us to try. All were good soaps, some I cared for, some not so much, there were a few that were personal favorites of my children and some not so much, but it's all in personal preference here. So I decided that I wanted some outside opinions. So I created a group within my facebook and invited some people to be guinea pigs for me.I selected people that I knew would be unbiased and give me an honest opinion. I plan to mail out the soap samples later this week, so will keep everyone posted on how it goes.
    Well folks, not much else to report on so I am going to post to my guinea pig group about which soaps are ready so I can send out samples. Talk to y'all soon!
Suds & Bubbles,
Soapy

Friday, March 25, 2011

Burgundy Shea Butter!!

*waves*Hey y'all! Hope everyone is doing good! As long as I stay soaping, I sure am too!
I am very tired tonight and it's late, but wanted to take a few minutes and post about the latest soap I made before tomorrow so I don't fall behind on this again. :)
So I have this thing for shea butter and cocoa butter because of how wonderful for your skin they are, and well the other day I tried something new with cocoa butter (Sisterly Love Soap). So I figured I would try the same with the Shea Butter. I tweaked the recipe , and plugged in the amount of Shea butter for the recipe into the lye calculator. Instead of melting all of the Shea Butter with the other oils, I reserved a little bit and added it right at trace like I did the cocoa butter for the Sisterly Love batch and I was very pleased with the results.
I seperated the batch and made the base part a Burgundy color and it came out a bit lighter than I expected. Incidentally when I added the fragrance oil, which smells just like living in the forest by the way ;), it turned turned the base yellow, so that may have been why the colorant was a light as it was. As time went on though, it went from yellow to white, which was fascinating to me. lol  Ok so lets get to the pictures shall we?
As you can see, there is no yellow tint from the fragrance oil, and here I have swirled both colors on the top.
This was taken the next morning. I was really happy with how the outside looked.
I made the first cut. I liked it, however I think I am going to pour the second color from now on before trace and divide it maybe with a little extra of the second color.Some of it gets stuck where it does because the bottom quickly hardens. I wanted the top to be swirled with both colors, which it did but the burgundy was a bit lighter than I wanted it to be on top. The burgundy on the inside is duskier than I wanted as well. It is still pretty though.
No two slices appear to be the same, altho some of the difference can be slight.
It's all cut up and ready to cure!
This weekend I am going to try a couple of new things I think with the colors. I also went today and met some wonderful goats and was able to purchase fresh goats milk. I have the milk already freezing in the freezer and can't wait to use it!
Well everyone, it is time for me to turn into a pumpkin! I hope you all have a good rest of the evening!
Suds & Bubbles,
Soapy